
Compressing PNG images is an essential step for optimizing website load times, saving storage space, and sharing files more easily. Portable Network Graphics (PNG) files are known for their lossless compression capabilities and transparency compatibility. However, they can often be very large files, which is why compressing can be so beneficial. Here is an easy step-by-step guide that can help you choose the best PNG compressor and compress PNGs efficiently.
Why is PNG image compression important?
People use PNG images a lot because they provide high-quality visuals and are transparent. However, they can be big and make web pages load slowly. For a few reasons, it’s important to compress PNG images.
- First, when you make images smaller, your web pages get smaller and load faster. Studies show that if a website takes more than a few seconds to load, people will leave it. So, smaller images can make your website work better and keep people from leaving.
- Second, if your images are smaller, they use less data. This is good for people who don’t have a lot of data or have slow internet. When you compress PNG images, more people can visit your website.
- Last, Google and other search engines consider how fast a website loads when deciding where it should appear in search results. Websites that load quickly usually appear higher up in the results, which means more people might visit them. By making your PNG images smaller, you can help your website be more visible online.
Choosing the right PNG compressor
Before we start the tutorial, you need to pick the best compression tool for your needs. You can find many tools online and offline, each with different compression methods and features.
Think about these things when you choose a compression tool:
How well it compresses: Find tools that make files much smaller while keeping the picture looking good. This will keep your images looking sharp while making them smaller.
- How easy it is to use: Choose simple and easy tools for anyone to use. This makes compressing images easier, especially if you’re new to this.
- Batch processing: If you need to reduce a large number of PNG images, get a tool that can handle many at once. This lets you compress a large number of images at the same time, saving you time and work.
- Extra features: Some tools offer more options, such as changing the size, keeping metadata, or switching image formats. Consider what you need before you decide.
Now that you know why it’s important to make PNG images smaller and how to pick the right tool, let’s review some PNG compressors.
5 Popular PNG Compressors for Efficient Image Optimization
When it comes to sharing images on the web, ensuring they are optimized for both quality and size is essential. PNG compressors play a vital role in this optimization process. Here are five popular PNG compressors that you can use to reduce your image file sizes without compromising on quality.
1. TinyPNG PNG compressor
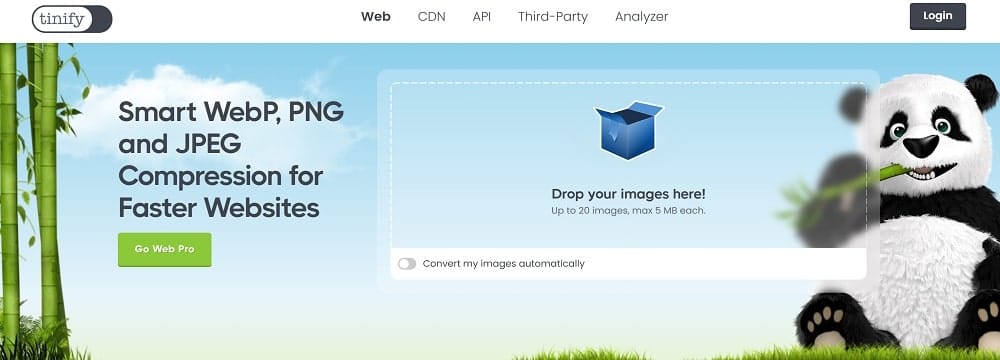
TinyPNG is a user-friendly online tool that uses smart compression methods to decrease the file size of your PNG files. Selectively decreasing the number of colors in the image significantly reduces the file size without affecting the visual perception. Moreover, TinyPNG supports batch processing, allowing you to compress multiple images simultaneously.
2. Compressor.io PNG compressor
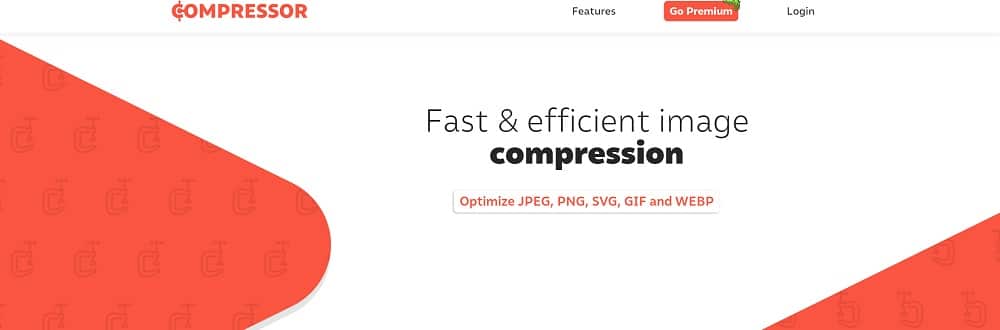
Compressor.io is another great online tool for compressing PNG images. It offers two types of compression: lossy and lossless. Lossless compression maintains the original quality of your image while reducing its size. On the other hand, lossy compression provides even more significant file size reduction by slightly lowering image quality.
3. ImageOptim PNG compressor
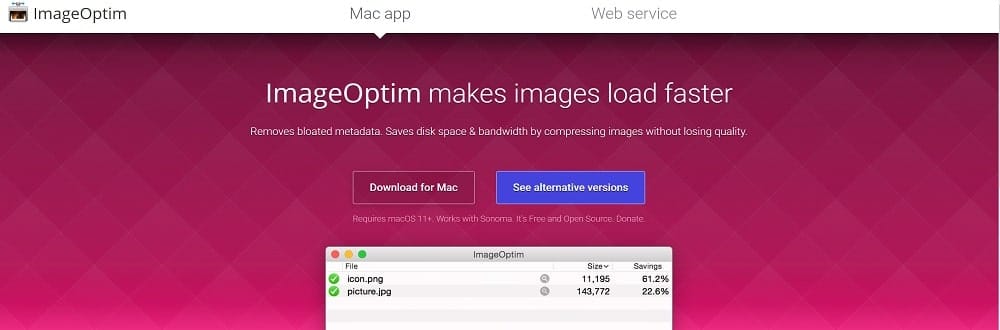
For Mac users, ImageOptim is a top choice. It’s a free application that provides excellent compression through a simple drag-and-drop interface. ImageOptim removes unnecessary metadata and thumbnails and employs advanced compression settings that work well with PNG files.
4. OptiPNG PNG compressor
OptiPNG is open-source software for compressing PNG images without losing information. It works by re-compressing the image with different compression parameters and then choosing the smallest one. OptiPNG is a command-line tool, which might be intimidating for some users, but it’s very effective for those comfortable with terminal commands.
5. PNGGauntlet PNG compressor

PNGGauntlet is a Windows-based application that combines multiple compression tools, such as PNGOUT, OptiPNG, and DeflOpt, to provide the best possible compression. It’s a free tool that promises to make your PNG files smaller without sacrificing any data. PNGGauntlet has a simple interface, making it accessible to users of all skill levels.
These five PNG compressors offer a range of options depending on your needs and technical expertise. Whether you prefer online tools or desktop applications, there’s something here to help you optimize your PNG images for faster loading times and improved website performance.
Step-by-step tutorial for compressing PNG images
It’s time for a simple tutorial to guide you through the process of compressing PNG images:
Step 1: Figure Out What You Need
Start by figuring out what you need from image compression. Think about how much you want to reduce the file size, how important the quality is, and why you’re using the images on your website. This will help you pick the right compression method and settings.
Step 2: Backup Your Images
Save a copy of your original PNG images before compressing them. This way, you’ll have the uncompressed originals if you ever need them again.
Step 3: Try Lossless Compression
Lossless compression makes files smaller without hurting image quality. It gets rid of extra metadata and improves the image’s structure. Here’s how to use OptiPNG, a common lossless tool:
- Download and set up OptiPNG on your computer.
- Open the command prompt or terminal.
- Use the “cd” command to go to the folder with your PNGs.
- To compress one image, type: `optipng [image.png]`
- To do many images at once, type: `optipng [image1.png] [image2.png] [image3.png]…`
Step 4: Test Lossy Compression
If you need to cut down the file size even more, try lossy compression. It removes some data and can make the image look a bit different. For lossy compression, PNGGauntlet is a good choice. Here’s how to use it:
- Get PNGGauntlet and install it.
- Open PNGGauntlet and click “Add” to choose the PNGs you want to shrink.
- Change the compression settings to what you like. Remember, more compression might mean more quality loss.
- Press “Optimize” to start compressing.
Step 5: Check the Results
After compressing, compare the new images to the old ones to see if they’re still good enough. Zoom in and check for any big changes in detail or color. If there are problems, tweak your compression settings or try other tools.
Step 6: Update Your Website
When you’re happy with how the compressed images look, put them on your website instead of the old ones. Change your HTML or CSS to link to the new, smaller images. This will help your site load faster.
By following these steps, you can make your PNG images smaller and your website quicker. Just remember a few best practices to get even better compression results.
Best practices for compressing PNG images
Here are some best practices to consider when Compressing PNG Images:
- Choose Correct Image Size: Before you compress your PNG images, make sure they are the right size for your website. Smaller, correctly sized images load faster.
- Delete Metadata: PNGs often have extra information like camera settings and locations. Use tools like ExifTool or ImageMagick to get rid of this data and make your files smaller without losing quality.
- Reduce Color Depth: Not all images need 24-bit or 32-bit color. Use 8-bit color to reduce file size without a big drop in quality.
- Manage Transparency: Because of the alpha channel, transparent PNGs can be big. Try using less transparency to save space.
- Keep Images Updated: Check your images often to make sure they’re still needed and compressed well. Remove old or unused ones to help your site stay quick.
Follow these tips to compress your PNG images better and make your website run smoother.
Testing the quality of compressed PNG images
How to Test Compressed PNG Image Quality?
There are a few ways to test your compressed PNG images quality:
- Look at Them Side by Side: Open the original and compressed images next to each other. Zoom in and check for any changes in quality, colors, or unwanted effects. Make sure the compressed image still looks good to you.
- Do A/B Tests: Put both the original and compressed images on a test webpage. Have people or coworkers compare how fast they load and how they look. Get their opinions to see if you need to make changes.
- Use Online Tools: Try online tools like Image Comparer to spot differences between your original and compressed images. These can show you where the quality has changed.
Always aim to reduce file size without losing too much quality. By testing your images after compression, you can ensure they still look great.
Final Thoughts
Compressing PNG images is essential to improving website load speeds, user experiences, and search engine rankings. By decreasing file sizes without compromising visual quality, compression can dramatically enhance website performance and accessibility.
As your website evolves, look for new compression techniques and tools to ensure that you’re always using the most efficient methods for images.
Don’t forget that image opitmisation is only part of your SEO success. You still have to get quality backlinks. Our team has experts in every part of SEO: from finding high quality sites for manual link building to crafting amazing articles for outreach campaigns. If you have any questions, contact us now.
Top Tools Offering Advanced Real-Time Threat Detection in 2026
Add Tip or Charity Contribution on Product Pages